- The instructions for these activities include the English vocabulary that Google Sites uses in its English version.
- One way of changing Language is by clicking on Aplicaciones de Google/Cuenta/Información personal/Idioma/ and set English as your preferred language. Close the window and refresh the page.
- You have a video of how your website is going to look, from Presentation section.
Activity 1. Creating a website from Google Sites
- The website must be created by one member of the group. Make sure you do not have any inconvenience for that. Otherwise, create your own website.
- Watch the video below. This video shows you how to create your website from Google Sites (created during the Covid-19 pandemic).
- You will find some little differences between the video and the instructions below. Follow the instructions.
- Once you have watched the video and created your web, you have to upload the web link (URL) to your Classroom/u5/your website. Call the teacher.
- Open Google Sites from your account. The main (and only) page is Home.
- Untitled site (set a name for your website): Website of teic41/2_xx.
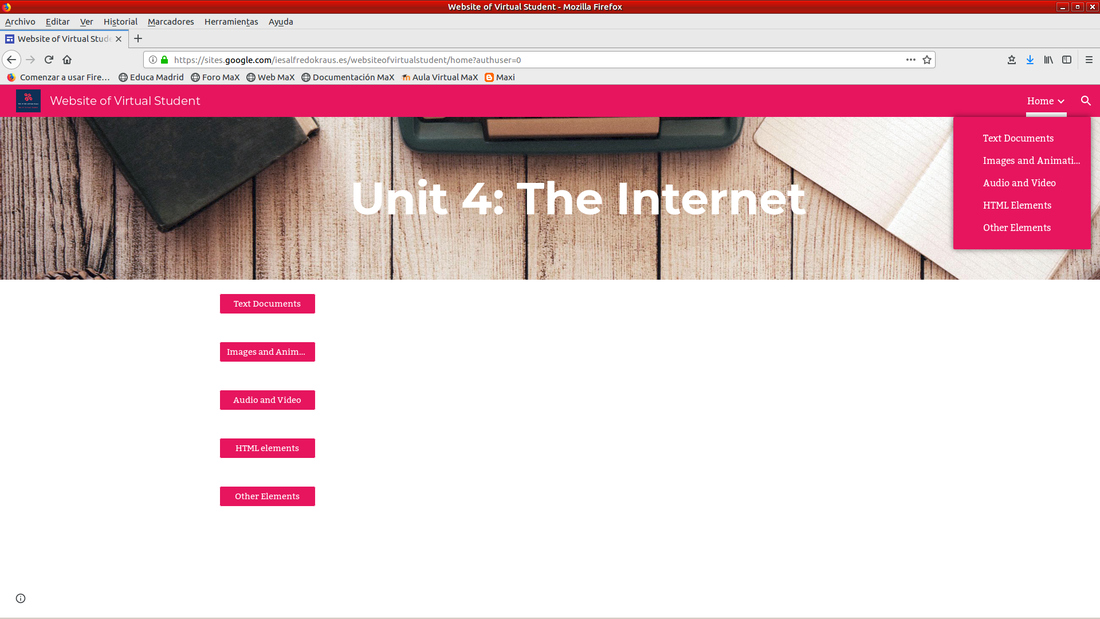
- Your page title (set a title for the home page): Unit 5_the Internet.
- Themes: change the theme by default for one of your choice.
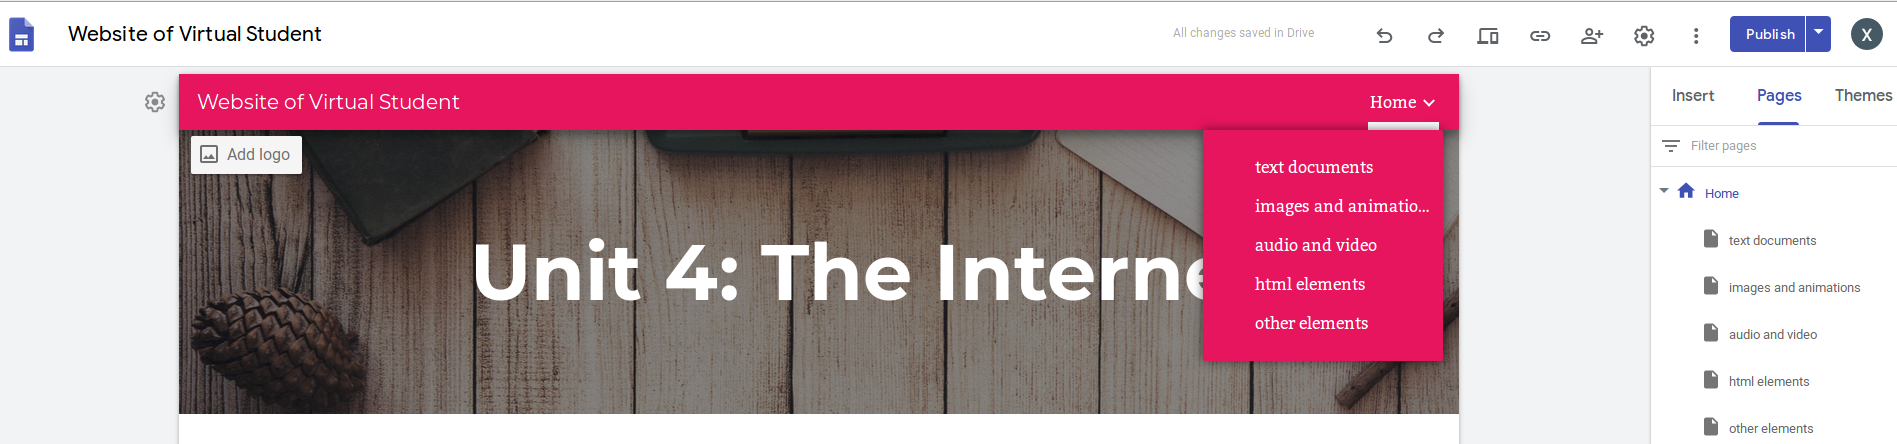
- Pages (select Add subpage): add 5 subpages to the home page.
- 5 subpages: text documents, images & animations, audio & video, html documents and other elements.
- Once the basic structure of our website has been created, next is to assign an address (url) so we can publish it.
- Click on Publish. Notice that a part of the address is already done (https://sites.google.com/iesalfredokraus.es) and we only have to add website of teic41/2_xx.
- Publish your page, copy the link to your page and check that it works from a new browser. Send your partner the link and check that works from his/her account. Call the teacher.
- You can also view your published website by clicking the Publish button and selecting View published website.
- If all goes well upload the link to your website to Classroom/u5/your website.

Activity 2. Editing the home page.
- From the global navigation bar of your website, click on Add logo/Brand images to upload a personal logo (favicon). You have logos of your own in Unit 1 (Initial Activities) and Unit 2 (creating images).
- To create a free logo use these pages: Free Logo Design, hatchful or Free Logo Maker. Remember that your group name has to be included on your logo.


Activity 3. Creating buttons for the home page.
- Add 5 buttons to have access from the home page to different parts (sections) of our website. Click on Insert/button and create the first one: Text Documents (name) and select the appropriate link from the site. Repeat the operation with the other 4 pages.
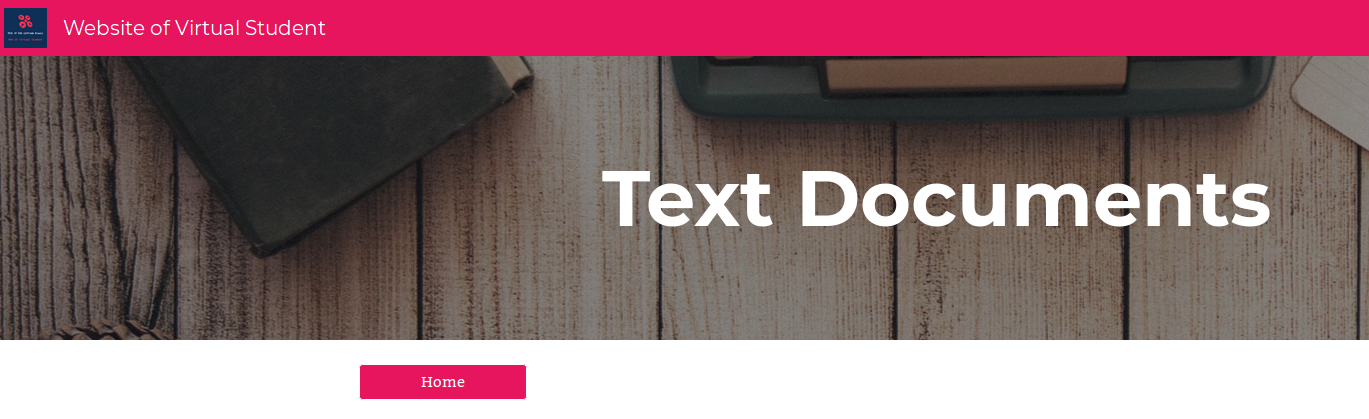
- Now add a button to come back to the home page from the other 5 pages.
Activity 4. Adding lines, text and links to the home page.
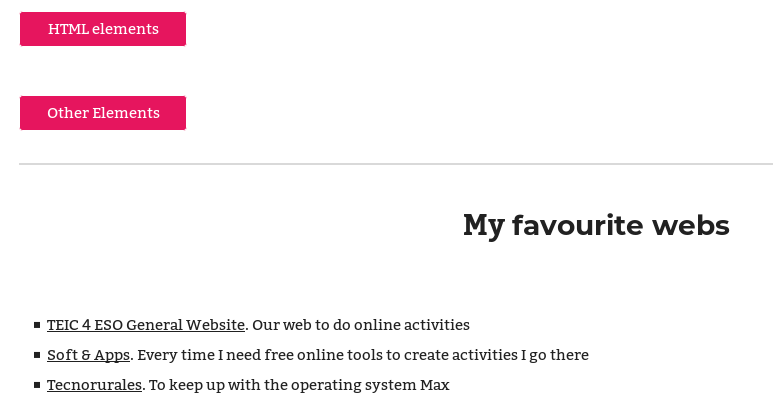
- Insert (beneath the 5 buttons you have just created) a divider (it's just a line). You can upload an image (Insert/Images) instead, as the one we have here between activities 2 and 3.
- Then insert the text (heading) "My favourite websites" and then think of 3 websites you like to include.
- Insert a collapsible text (normal text) with a bulleted list of 3 (at least) websites of your choice and a short description of each of them.
- Part of the text is the link (select the text and insert link) and part is the description. You can use the tool clear formatting to adapt the text to the box. Your websites have to be related to academic stuff, leisure and other (social networks, ...).
- Do not forget to publish the web to update your changes.