Activity 1. Publishing images (images & animations).
- Open Images and Animations subpage and create different headings (as images) to introduce your images and animations. Go to Da Buton Factory to create your images (then upload them to Classroom):
- Go to Da Buton Factory to create your images (select your own options). First create the images, then upload them to Classroom and finally publish them in your website.
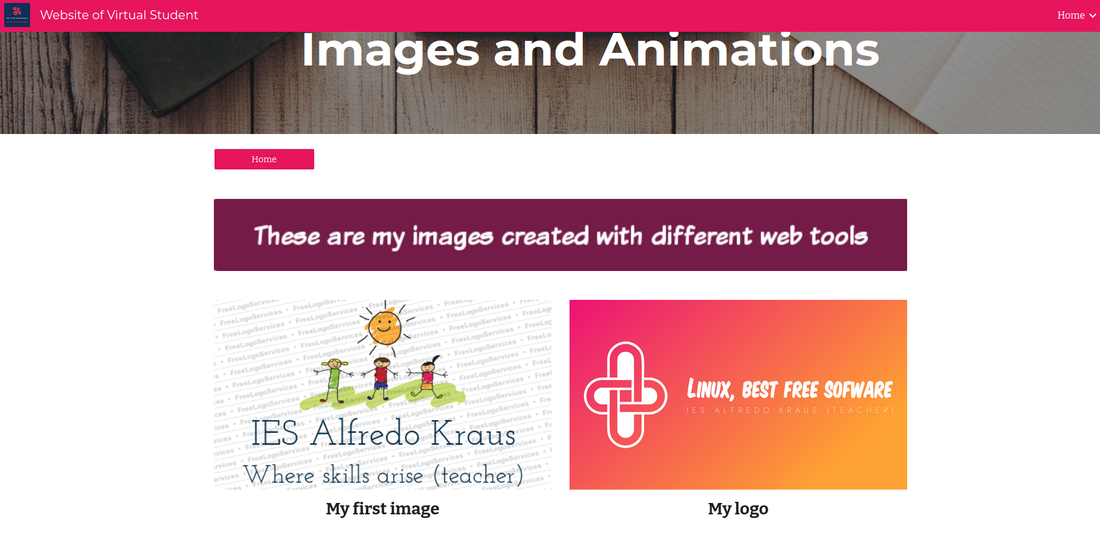
- image1 These are images created with different tools (beneath the button Home)
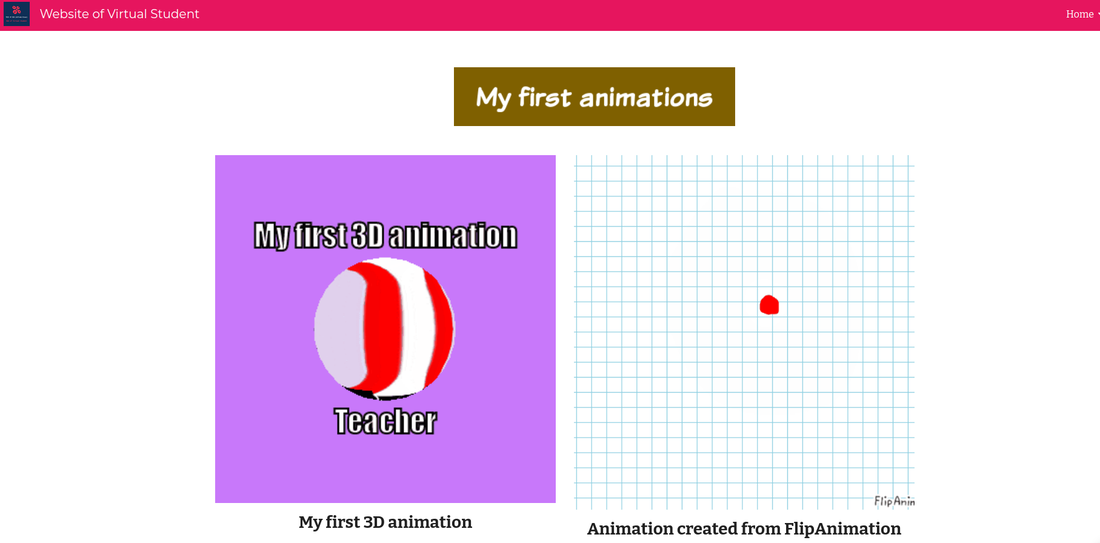
- image2 My first animations (beneath the static images)
- image3 Here is a web tool for freehand drawing (beneath the animations)
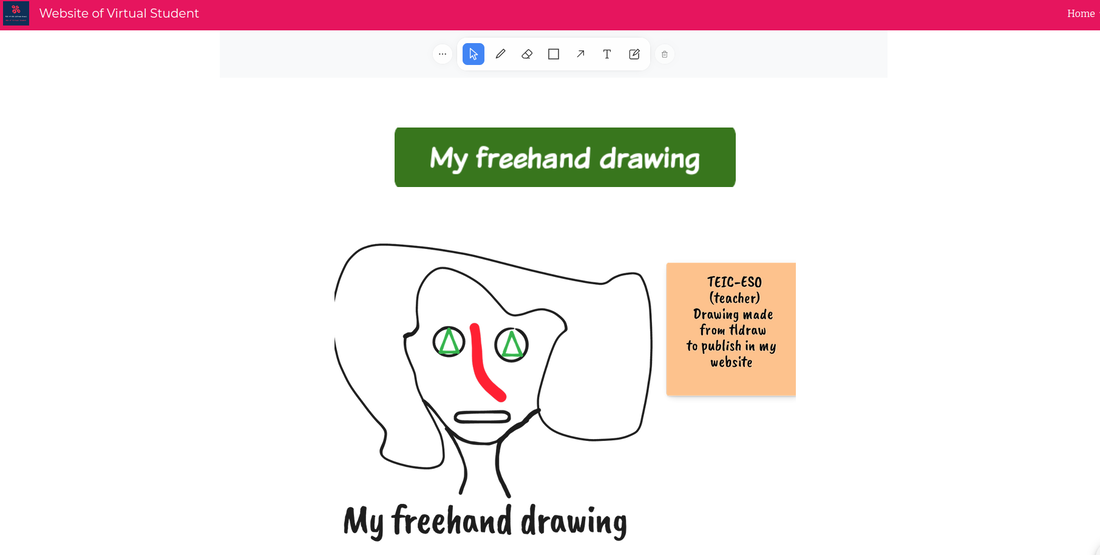
- image4 My freehand drawing (beneath the webtool)
- Insert/images: insert your first image (image1) as a heading of this section (static images)
- Now locate 2 images (created in unit2_multimedia/creating images) you may have in your Drive.
- From Layouts (on the right) select the one with 2 images and text. Upload your images and write a text beneath them: My first image and My logo.
Activity 2. Publishing animations.
- Insert/images: insert your second image (image2) as a heading of this section (animations)
- Now locate 2 animations (created in unit2_multimedia/creating images) you may have in your Drive.
- From Layouts (on the right) select the one with 2 images and text. Upload your images and write a text beneath them: My first 3D animation and Animation created from FlipAnimation.
Activity 3. Embedding external tools to my website.
- Insert/images: insert your third image (image3) as a heading of this section (web tool)
- Now you are going to embed a web tool to draw freehand. So,
- Go to tldraw and have a look at the web tool. Draw something to try the tool. Copy its web address (url).
- Now go to this page from where you will get the embed code to this tool.
- Paste the url to iFrameURL and then click on Preview to chech that it works (you see the web tool).
- Change width to 1100 and height to 650 px and the click on Generate. Copy the iFrame code.
- Go back to your website and Insert/Embed the code beneath image3. Resize the box so that the tool fits better in your site.
- Fourth, repeat the first step to include a freehand drawing of yours. Insert a title (My freehand drawing) and an image (no text).

Activity 4. Creating a freehand drawing from my website.
- Now draw something from the tool embedded in your website. Try to create something better then my own drawing (it's not going to be difficult for you).
- The drawing has to include a text (My freehand drawing, or other text) and a Sticky note (here you have to include your group name and something else).
- Download your drawing from the main menu/File/Export as PNG image.
- Rename your drawing as drawing.png and upload it to Classroom.
- Insert/images: insert your fourth image (image4) as a heading of this section (freehand drawing)
- Publish your image beneath image4.